
A left-chest logo can cost more than the shirt it goes on. Here's what actually happens between your artwork arriving and a file that stitches clean, and why it takes days rather than minutes.

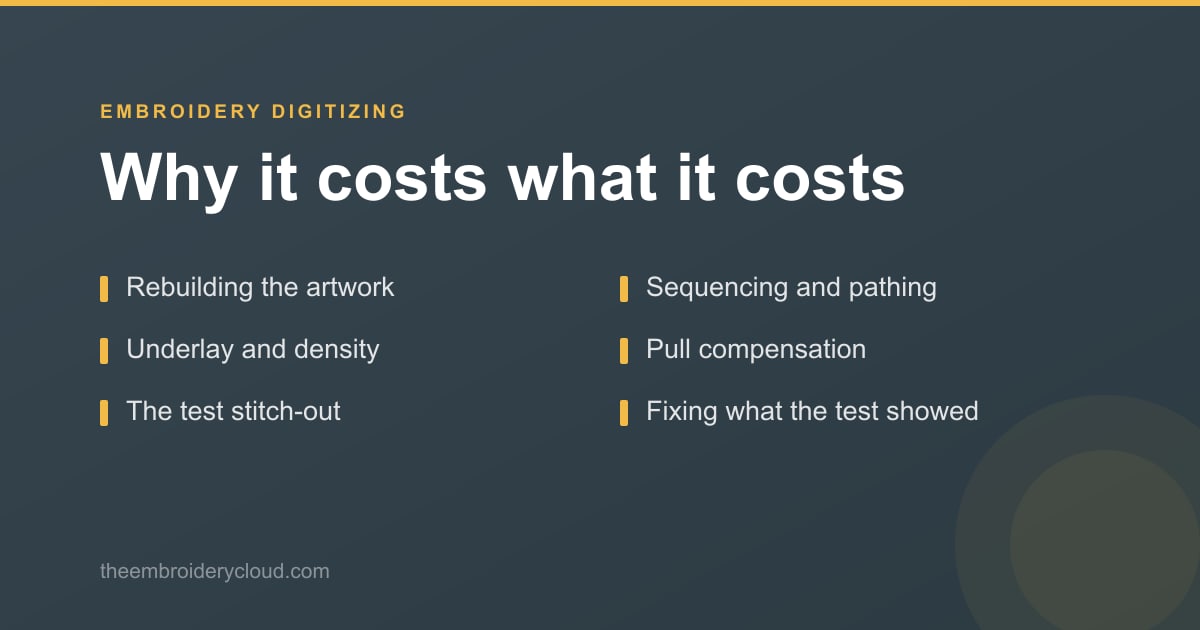
It's a fair question, and people usually ask why embroidery digitizing is expensive in the same way: it's one small logo, the artwork already exists, why does this cost more than the shirt it's going on?
I've been digitizing and running machines for over fifteen years, so here's the honest answer. Not a defense of anyone's pricing, just what actually happens in those days between you sending artwork and getting a file that works.
Start here, because it's where most of the confusion lives.
If digitizing were typing, an hour of it would be worth an hour of anyone's time. It isn't. Digitizing is a series of decisions about how thread will behave on a specific piece of cloth, made by someone who can picture the result before the machine runs. The clicking is the easy part. Knowing what to click is what took years.
You can see this in what happens when the decisions are skipped. Software will trace your logo and produce a file in seconds. It costs almost nothing, and it comes back with the letters filled in, the fabric puckered and the design sitting on the shirt like a plastic patch. Same clicks. No decisions.
Here's the work, in the order it happens. Most of it is invisible to you, which is exactly why the price looks strange.
1. Reading the artwork, and often rebuilding it. A clean vector file is quick. A logo photographed off a signboard, or pulled at 300 pixels from a website, has to be redrawn before digitizing can start. That rebuild is real time and it happens before any stitch exists.
2. Deciding what it's going on. Cap, polo, fleece, denim, aso oke. The same logo is a different job on each, because each fabric moves differently under the needle. This is the question a professional asks first and a cheap service never asks at all.
3. Sequencing and pathing. What stitches first, what follows, how the machine travels between them. Get this right and the design runs clean with few trims. Get it wrong and a simple logo takes half again as long to run, every single time you stitch it.
4. Underlay, element by element. Underlay is the foundation the visible stitches sit on. Fill areas want one kind, satin columns another, and anything going on a towel or fleece wants more than you'd think. Skip it and the top stitches sink into the fabric.
5. Density, element by element. Around 0.4mm to 0.5mm is a sensible starting point, and then it moves depending on fabric, thread and size. Too tight and the design goes stiff and cracks after a few washes. Too open and the garment shows through.
6. Pull compensation. Stitches pull fabric inward as they form. If nobody accounts for that, you get a thin line of bare cloth showing where a fill meets its outline. This is the single most common giveaway of a cheap file.
7. The small text problem. As a working rule, keep lettering above about 12mm tall. Below that, thread thickness starts working against you and every decision has to be right at once. Small text is where digitizing stops being a craft you can fake.
8. A test stitch-out. On similar fabric, with the same stabilizer and hoop. This is the only step that tells the truth, and it's the first thing dropped by anyone competing on price.
9. Fixing what the test showed. Then, often, testing again.
Nine steps, and only one of them looks like using software.
Normal turnaround is two to four working days. People find that number surprising until they see the list above, and there's a fuller breakdown in how long embroidery digitizing takes.
The digitizing itself doesn't take days. What takes days is that a file has to be built, stitched, looked at, corrected and stitched again, and that your job is sitting in a queue behind other people's. A digitizer who promises everything by this afternoon, every time, is either not testing or not busy. Neither is a good sign.
It's also why rush work costs more. You're not paying for speed, you're paying to be moved in front of someone else and to have the testing compressed into one attempt.
Digitizing feels expensive because you pay for it once, up front, before you've earned anything from it. But you don't use it once.
A logo you digitize today goes on this order, and the reorder, and next year's staff shirts. Take what you paid and divide it across every garment that file will ever stitch. On a run of a hundred pieces it's already a rounding error. On a client you keep for three years it costs less than the thread.
Now do the same sum on the cheap version. A file that breaks thread every few minutes costs you machine time on every single garment, forever. A file that puckers costs you the garment. The saving was a one-off. The cost repeats.
Our guide to what embroidery digitizing costs goes through the actual prices and the two ways digitizers charge.
If your quote came back higher than you expected, it's usually one of these:
Sometimes the honest answer is no, and it's worth saying plainly.
If the design is a client's own logo, it has to be digitized for that client and there's no way around it. But a great deal of what people commission isn't a logo at all. Agbada and kaftan motifs, decorative patterns, seasonal designs, the things you stitch again and again for different customers. Those have already been digitized properly by people who do this for a living, and paying custom prices for them is spending money for no reason.
EmbGig is a marketplace of exactly those files: machine-ready, made by African digitizers, instant download, commercial use included. If you're waiting three days and paying a custom rate for something that already exists, that's a choice rather than a requirement.
The rest of it, the client logos you genuinely do have to commission, is a bill that never stops. Every order, every revision, every year.
Or you learn the nine steps above and stop paying them. It isn't a weekend skill, and anyone who says otherwise is selling you something, but most of my students are digitizing the basics inside a week and building from there. After that the margin on every job stays with you, and a client changing their logo the night before delivery is an inconvenience rather than a crisis.
That's what our Digitizing Mastery course is for, from the fundamentals through to logos, monograms and agbada you can charge for. If the per-design bill is the thing bothering you, that's where to start.
Because the garment is a finished product and the file is a tool. You buy the shirt once and it's gone. The file gets used on every shirt after it, which is why it's priced as an asset rather than a consumable.
It can, and that's what the very cheap services are. Software doesn't know what fabric you're stitching on, how small your text is, or which way the light should catch the stitches. It gives you the same confident output either way, and you find out on the first garment. There's more on this in can AI replace embroidery digitizers.
No. It buys you better odds, nothing more. Ask for a stitch-out on real fabric before you commit to a run, and read what to look for when hiring a digitizer before you choose.
Not if the fault is in the digitizing. Fixing that is the digitizer's job. Changing your mind about the design is different, and fair to charge for. Agree which is which before the work starts.
Two to four working days is normal for standard work. Faster is possible and costs more. Much faster, every time, with no testing, usually shows up on the fabric.
The short answer to why embroidery digitizing is expensive: you're paying for the decisions, not the clicks, and for the mistakes that don't happen because someone who has run machines made those decisions for you. When it's a client's logo, that's money well spent. When it's a design that already exists, it isn't. Knowing the difference is most of the saving, and the seven common digitizing mistakes will show you what the cheap version actually looks like on fabric.
The Academy turns articles like this into proper courses, with video lessons, assessments, and people to learn alongside.