
Cut-away, tear-away, wash-away. What each one is for, why the wrong choice looks exactly like a digitizing fault, and how to pick without memorising a chart.

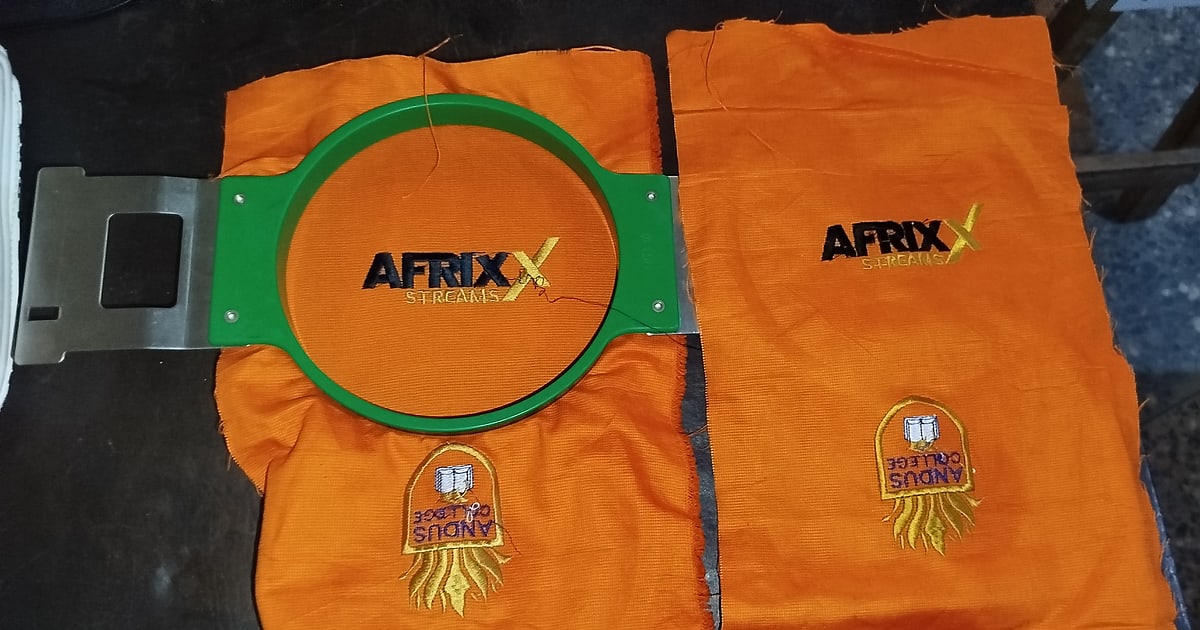
Stabilizer is the cheapest thing in your workshop and the one most likely to ruin a garment. It's also the thing that gets blamed last, long after the digitizer and the machine have been accused.
An embroidery stabilizer has one job: hold the fabric still while thousands of needle penetrations try to move it. Get that right and mediocre digitizing still looks decent. Get it wrong and excellent digitizing looks like a mess.
Worth settling first, because people use the words interchangeably and they're not.
Backing goes underneath the fabric and does the structural work. When someone says stabilizer, this is usually what they mean.
Topping goes on top of the fabric, before stitching, and stops the stitches sinking into a textured surface. It's not holding anything still. Toweling and fleece need both.
Cut-away stays in the garment permanently. You trim the excess and the rest lives there for the life of the shirt. Use it on anything that stretches, which means knits, polos, t-shirts and most sportswear. The reason is simple: the fabric will keep wanting to move every time somebody puts the garment on, and cut-away keeps supporting it forever.
Tear-away comes off after stitching. Use it on stable wovens: canvas, denim, twill, most caps. It's quicker and leaves nothing behind, which matters on anything against the skin. What it must not go on is a knit, because the moment you tear it off, the support is gone and the design distorts on the first wear.
Wash-away dissolves in water. Two uses: as a topping on pile fabrics, and as a backing on sheer fabrics or freestanding work where nothing can be left behind. It costs more, so it's used where it's needed rather than by default.
That's genuinely most of it. Almost every embroidery stabilizer you'll buy is a version of one of those three in a different weight.
One question does most of the work: does this fabric stretch?
If yes, cut-away. If no, tear-away. That single rule will get you the right answer on the large majority of jobs, and it's easier to remember than any table.
Then a second question for texture: will the stitches sink into it? Toweling, fleece, velvet, thick piqué. If yes, add a wash-away topping over the surface as well as the backing underneath.
Everything else is refinement. Heavier stabilizer for denser designs, lighter for small light ones, softer no-show versions for thin garments where a stiff backing would show through from the front.
Stabilizers come in weights, and heavier isn't automatically better.
Match the weight to the design rather than the fabric alone. A large dense fill needs more support than a small piece of lettering on the same shirt. If you find yourself needing a lot of support, two layers of a lighter stabilizer often behaves better than one heavy sheet, because the layers can move slightly against each other instead of acting as one stiff board.
What you're avoiding at the other extreme is a garment that feels like it has cardboard sewn into it. On a polo somebody wears all day, that matters.
The rule above resolved into the jobs you'll actually get:
Adhesive stabilizer earns its place on things you can't hoop properly.
You hoop the stabilizer alone, score and peel the paper to expose the adhesive, then press the garment onto it. Useful for caps, small items, bags, thick made-up garments, and anything where a hoop would leave a mark that won't come out.
Floating is the related technique: hoop the backing, and let the item sit on top secured by adhesive or a basting outline stitched first. It's the standard answer for a garment that physically won't go in a hoop, and it's worth practicing before you need it in a hurry.
The best stabilizer in the world does nothing if the hooping is wrong.
Fabric and backing go in together, firm but not stretched. Stretched fabric springs back when it comes out of the frame and drags the stitches with it, which produces puckering that looks exactly like a density problem and isn't. Our post on why an embroidery design went wrong covers reading that difference.
And tear the tear-away carefully when you're done. Support the stitching with one hand, tear towards the design rather than away from it, and take it in sections. Ripping it off in one pull distorts everything you just made.
Buy by the roll rather than in packs once you're running regular work. It's one of the few places in this business where volume genuinely saves money, and stabilizer doesn't go off.
Keep it flat, dry and out of the dust. A roll that's been sitting damp behaves differently from a fresh one, and adhesive backing in particular suffers in heat and humidity.
Keep two or three types rather than one universal choice. A cut-away, a tear-away and a wash-away topping will cover almost everything you'll be asked to do.
Work out what it costs you per garment, once. Take what a roll cost, divide by roughly how many pieces you get from it, and you'll find the number is small enough to stop you being careful in the wrong places. People cut backing too small, or reuse a piece that has already been stitched through, to save something that turns out to be pennies. Meanwhile the garment underneath cost real money and the client is expecting eighty of them.
The same advice as everywhere else on this blog, because it's the thing that actually builds skill.
Fabric, design, which embroidery stabilizer, what weight, and whether the result was right. Four lines per job. After a couple of months you'll stop guessing on fabrics you've met before, and you'll have something worth more than any general guide because it came from your machine and your garments. Kept with the order in EMBBA rather than on loose paper, it survives.
Stabilizer and digitizing solve the same problem from opposite sides. The backing controls the fabric physically, the file controls how much the stitching demands of it. Change one and the other has to move.
Which is why the same design genuinely needs different settings on different cloth, covered in stitch types for different fabrics, and why understanding the machine side makes people better digitizers. That reasoning is what our Digitizing Mastery course teaches alongside the software.
Not if you want the design to survive. T-shirts stretch, and once the tear-away is removed there's nothing holding the fabric. Use cut-away.
Usually not, though a heavily textured piqué sometimes benefits. Save topping for toweling, fleece and anything with a real pile.
Enough that the hoop is gripping stabilizer as well as fabric all the way round. Cutting it flush to the hoop wastes the support exactly where you need it.
Small pieces are fine for small designs as long as the hoop is still gripping backing all the way round. What doesn't work is patching two offcuts together under one design, because the join moves differently from the rest.
The differences are real but small compared with choosing the right type. A correctly chosen cheap cut-away beats an excellent tear-away on a knit every time.
Does the fabric stretch? Cut-away. Does it not? Tear-away. Will the stitches sink? Add a wash-away topping. Hoop both together, firm and unstretched, and tear the backing off gently. That covers most of what an embroidery stabilizer has to do.
The Academy turns articles like this into proper courses, with video lessons, assessments, and people to learn alongside.